Octagonal Gazebo Blueprints
Gazebo Making Blueprints - Information To Check out While Assembling A Simple Summerhouse
Ties should be diagonal from each other. Prices vary greatly per square foot of wall face. Plumb the kind stud with a spirit level. When you put it back together, I'd lean toward making it beefier than you think it has to be. Skips are the best place for finding materials. Bold colors will also work well as accent touches granted they blend in with the rest of your backyard design. This step by step woodworking project is about pergola roof (https://www.squaregazeboplans.com/oval-gazebo-plans) plans. Measure and mark your positions with a circular saw and use a level to make sure the columns are at the same height.
This is a temporary solution, which we would alter when finishing the decking. If you use a ladder, ensure you place it on a sturdy surface. If your backyard arbor is intended for more relaxation purposes, plan ahead for outdoor furniture spaces and comfortable hammock areas. It features benches, a table, and some lattice that provides privacy and makes it a little cozier. You could level a deck with a standard level or a high-tech laser level. Constructing any size summerhouse is rather complicated. Use the stapler to secure the roofing felt. This technique might look complex, but it is straight forward, if you use the right techniques.
You would need to fully coat them with paint, including the sides, to keep the majority of the moisture out. Building a roof for an octagonal summerhouse is a complex project that requires professional plans and tools. If cared for properly, a arbor (special info) could last decades. Use the measuring tape and spray chalk to mark the outline of the space for the pergola base. The rafters are 16 feet long, and run parallel to the short side, leaving a 2 foot overhang on each long side. Remove the excess materials with a chisel and then smooth the recess with sandpaper.
Procesando video...
Then, take the top board and place it above your balusters. You also have the option of a freestanding or attached model. If you look at factors like the available time, you might have to reconsider. To do this, use a concrete mixer to prepare the concrete and then pour it so it is perfectly smooth but slopes slightly downward on all sides to allow for drainage. Then attach 42 inch vertical lengths every 32 inches for support. Next, staple fiberglass screen mesh to the frames. Insert pergola posts when the angle permits. Align the edges with attention, plumb the wall with a spirit level and then drill pilot holes.
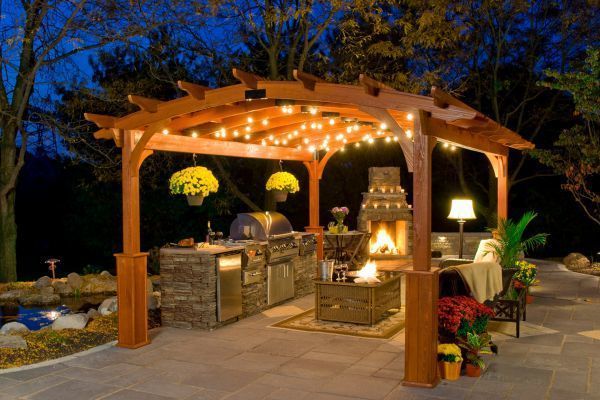
Learn how to build a gazebo to dress up a patio or outdoor room. Additionally, if you decorate the pavilion with plants and flowers, you will have created a distinct visual link between your garden and your home which further enhances your landscape. Once checked for fit, the door was coated in linseed oil and then hung in place. Dig and pour all footings and piers at one time, if possible. The strings are squared to each other by marking a point 3 feet and 4 feet from the intersection with a sharpie. However, we recommend installing steel brackets for gazebo supports for a couple of reasons.
Use rafter ties to secure the garrets to the top plates of the gazebo. Even though building a pergola is not a complicated task, you still need a good number of tools and materials even if you are installing the arbor kit. Going slightly over is acceptable, but a large variance creates dangerous steps. Once installed, you'll need to lay down the planks using spacers and screws. Repeat the previous step and this one to install the remaining upper supports. Center the cap and fasten it down with pole barn screws into the top purlins. Mark the plumb line for the ridge line cut near the end of the rafter board.
Once you think it's good, mark and cut the joist so that it is flush to the back seat joist. Repeat with another 2x6 on the opposite side of the post. Check out this project on imgur to find out how this octagon-shaped gazebo platform was built. Draw a line along the right edge of the strip. Don't forget to drill pilot holes, if you want to prevent the wood from splitting. Use the bottom edges of these boards to mark the level line cut. Where struts span long distances or are spaced wide apart, they are prone to twist or buckle unless braced with blocking.
Pieces come precut, often with the largest components preassembled in sections, no sawing required.