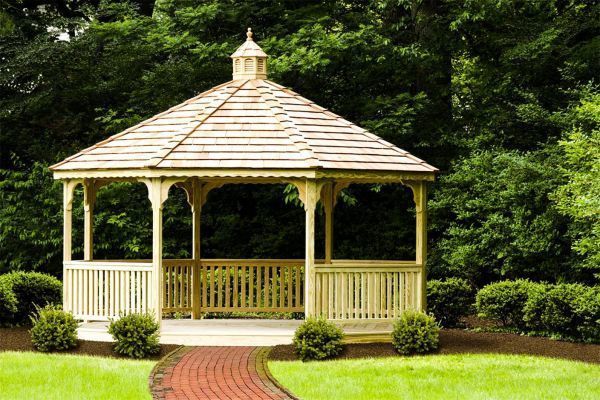
Octagonal Gazebo Blueprints
Blueprints To Craft 16 Feet Pergola - Discover Steps For Making A Pavilion
It offers filtered shade without blocking natural light. As the timbers may not be identical, it's a good idea to number each upright and the rafter in pencil so you could match them up again. For a stylish note in your backyard, you can paint your pavilion with neutral, natural or tan tones. Find out more useful tips from treatedwood. Their structure can vary, but generally they are constructed with composite or natural wood, are free-standing, round and have a peaked roof. Start at the outer edge of the deck and work inwardly to (https://www.squaregazeboplans.com) the centre. The right hand side of the door opening shows the frame before glass is fitted.
Notice that the joists are clamped at the centre. Once they have confirmed there are no underground lines in your future gazebo location, begin digging the support holes. A pop-up pergola serves as an outdoor living space on call, ready wherever and whenever needed. Begin installing the deck boards from the outer edge and work inward, towards the center. The shield is made from soft, almost lead-like material that accepts a sheet-metal screw. Fasteners for anchoring the pavilion columns in place are. Owatrol has a few products available that are suitable for use on a pergola. Prepare a good base for your summer house.
The flat lattice on top is perfect for holding climbing plants and flowers but also looks lovely when empty. Impact drivers pack a lot more torque than standard drills or drivers and would drive concrete screws much better. Note, if you have an impact driver, they are brilliant for this work, which you'll see (this) later in an upcoming lean-to shed build. The lattice arrangement also provides shelter from the sun. For a large, 15-foot gazebo, it may be necessary to install a roof support band or, for a screened model, a screen band around the perimeter. To prevent water from seeping down along the foundation, we caulked the gap between the patio and the house.
Procesando video...
Your most serious issue is not having the structure anchored or braced. This way you know where the center point is while working on it. Then drive screws on the upper edges of the lower supports and the bottom edges of the upper supports to connect them. Work toward erecting a basic pavilion with the idea that the decorative trim and add-ons can be saved for a rainy day, figuratively speaking. Walk around the base to make sure the deck planks overhang the rim joists evenly. These columns are then set in the saddles, tilted up, and plumbed with a spirit level.
Measure from the ground 2200mm up one of the columns and mark with a pencil. Later the other two matching panes will be used on the right side. Drill holes for the screws at a 90-degree angle through the preexisting holes in the angle before installing the screws. A garden pergola not only adds structure and style to your backyard, it would help add value to your home. When the saddle is wrapped, fold down the overhanging flashing along the top and bottom edges. A hip roof could be a real challenge to lay out, cut, and assemble. It delivered the right look, though the labor to finish the cedar added to the budget.
The strip was a pallet plank wide enough to cover the combined thickness of trellis and top batten. For effective ventilation, install soffit vents along with roof or ridge vents. Finally, nail plywood to the frame and attach shingles to finish the roof. Use a length of 10 inch Sona tube in this hole. Pull a string from one corner to another corner. For consistency, mark your first one as the pattern and trace this piece each time. You could either cut this with a miter saw or use a carpenter square to draw a 45 degree angle and cut it with a skill saw.
This step by step diy project is about grill pavilion railings plans. A framing square is traditionally used for laying out the roof and determining pitch. In addition, the insulation and the correct type of finish must be taken into account. However, if the posts seem weak and the leaning is extensive, you can call a professional to repair to avoid the risk of the pergola collapsing on you. Set each 2-by-8 board on edge on top of the posts, with an equal distance of overhang at each end. Your shooting to run parallel with the back seat joist.